Laying herringbone parquet – stylish design with tradition
Juli 18, 2025

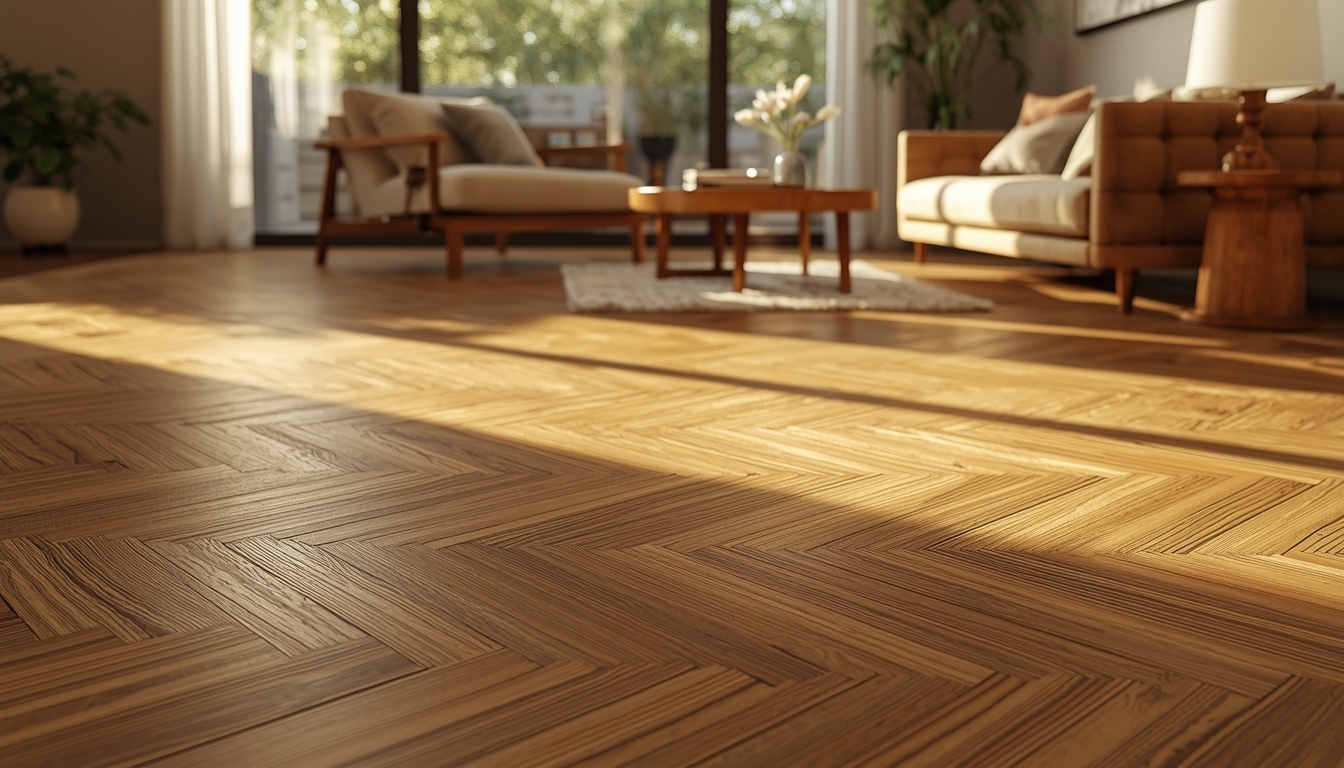
Parquet is much more than just a floor covering. It represents elegance, durability, and a sense of quality living. The herringbone installation pattern is particularly popular – both in classic old buildings and in modern homes and offices. In this article, we'll show you why herringbone parquet is so valued, what variations are available, and how to install it step by step.
What is herringbone parquet?
Herringbone is a special installation pattern in which the wooden planks are arranged at an angle to each other, similar to the bones of a fish – hence the name. This pattern has a particularly high-quality appearance and adds structure and movement to the room.
Herringbone can be installed with both solid parquet and prefinished parquet. It is important that the elements are precisely cut and fitted, otherwise the pattern will not be visible.
Overview of Different Types of Parquet
Before you decide on a herringbone pattern, you should be familiar with the common types of parquet:
- Strip Parquet (Solid Parquet): Small wooden strips with tongue-and-groove joints. Ideal for creative patterns such as herringbone or cubes.
- Prefinished Parquet (Multi-Layer Parquet): Consists of several layers – usually HDF or plywood on the bottom and real wood on top. Easy installation thanks to the click system.
- Panel Parquet (Mosaic or Modular Panels): Square elements with a prefabricated pattern. Particularly suitable for large rooms.
Herringbone Variations: Which Are There?

The classic herringbone pattern isn't the only option. There are numerous variations that vary in style and complexity:
- Single herringbone: Equally sized elements laid at a 90-degree angle to each other.
- Double or triple herringbone: Two or three planks are placed next to each other. This creates a more rustic and striking effect.
- French herringbone: The ends of the planks are cut at an angle of 45°. The lines create an elegant V-shape.
- Hungarian herringbone: Similar to the French herringbone, but with a 60° angle.
Each variant has its own charm – choose according to the room size and desired effect.
Advantages of herringbone parquet
- Elegant appearance: The pattern brings dynamism and value to the room.
- Timeless design: Suitable for both classic and modern interior styles.
- Durability: Especially with solid wood parquet, which can be sanded and resealed several times.
- Good thermal and sound insulation: Thanks to the natural properties of wood.
- Environmentally friendly: Real wood is a renewable raw material and ensures a healthy indoor climate.
Important preparation steps before installation
Installing parquet – especially in a herringbone pattern – requires thorough preparation:
- Check the subfloor: The floor must be dry, clean, and level.
- Climatic conditions: Room temperature between 16–25°C, humidity 45–60%.
- Allow the wood to acclimatize: Parquet should be stored in the room for at least 7 days.
- Planning the pattern: Determine the installation sequence and starting point – ideally from the center of the room.
Materials and tools
In addition to the parquet, you will need You:
Materials:
- Parquet adhesive
- Primer
- Filler for joints
- Sealer (varnish or oil)
- Baseboards
Tools:
- Rubber hammer
- Pull bar
- Tape measure and square
- Notched trowel
- Sanding machine
- Brushes, rollers
- Vacuum cleaner
Step-by-step: Installing herringbone parquet correctly

1. Prepare the installation surface:
- Level out any unevenness
- Apply primer
2. Lay the first rows:
- Align precisely using a string line or laser
- The first elements serve as a reference for the entire pattern
3. Lay the parquet:
- Glue the elements in the desired pattern (e.g., 90° to each other)
- Carefully secure each piece with a rubber hammer
4. Cut the edge pieces:
- Maintain a distance of 10–15 mm from the wall – to allow for the natural expansion of the wood
5. Finish the surface:
- Sand after 2–3 days (multiple times, as needed)
- Fill the joints
- Clean with a vacuum cleaner
- Prime and seal with varnish or oil – in several coats
6. Install the baseboards:
- After the sealer has completely dried
French herringbone: Sophisticated, but particularly elegant
This version requires particular precision, as the planks are cut diagonally at the ends. Those with less experience should purchase prefabricated French herringbone planks. These have matching tongue-and-groove systems, which makes installation much easier.
Tip: With this option, pay particular attention to the direction of the light in the room – the pattern appears very different depending on the viewing angle.
Avoid Common Mistakes
- No gap to the wall: Without an expansion joint, the floor can buckle.
- Damp subfloor: Leads to warping or swelling.
- Unsuitable adhesives: Look for products specifically designed for parquet.
- Too early load: Wait at least 5–7 days after sealing before placing the back of the furniture on the floor.
Conclusion: Why Herringbone Parquet Is Worth It
Herringbone parquet is not only beautiful to look at, but also a statement for stylish living. With the right preparation and high-quality materials, you can create a timeless atmosphere that will last for decades.
Whether interpreted in a classic, French, or modern style, herringbone parquet is always a good choice. Those who pay attention to quality and take some time for planning and implementation will be rewarded with a floor that enhances any room.